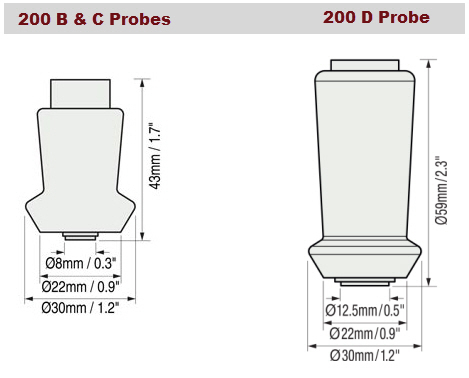
200B - 0.5 - 40 mils (13 - 1000 µm) paint on plastic, sheetrock, wood
200C - 2 - 150 mils (50 - 3800 µm) coatings on concrete, fiberglass
200D - 2 - 300 mils (50 - 7600 µm) polyurea on concrete and other thick coatings
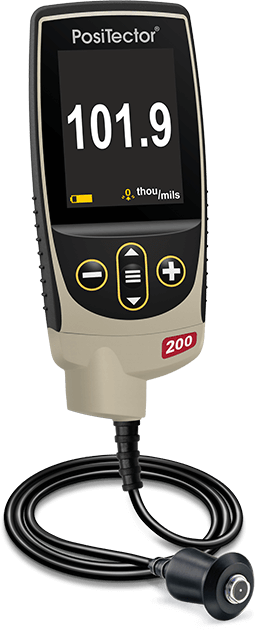
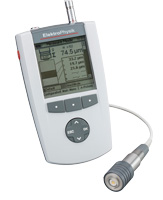
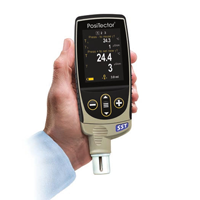
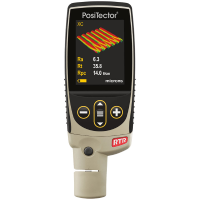
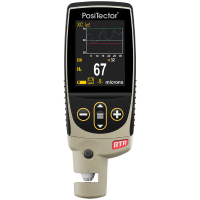
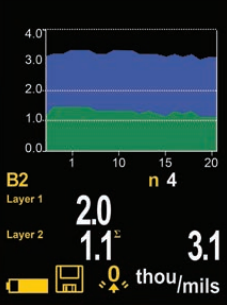
Non-destructively measures a wide variety of applications using proven ultrasound technology. Measure coating thickness over wood, concrete, plastic, and more. Advanced models measure up to 3 layers with graphics.
On-Screen Statistics - continually displays/updates average, standard deviation, min/max thickness and number of thickness readings.
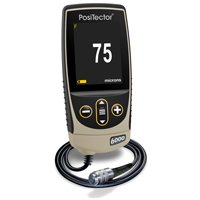
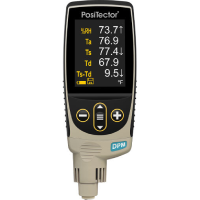
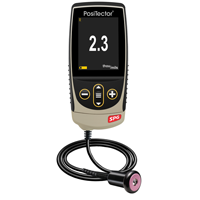
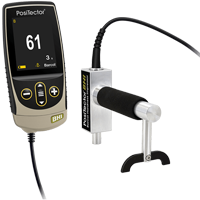
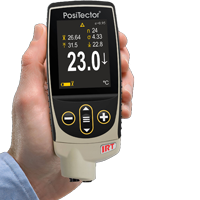
The probe can be swapped out with any other PosiTector probe allowing the device to act as several different measuring instruments including but not limited to a dew point meter, a thermometer, a surface profiler, and a hardness durometer.
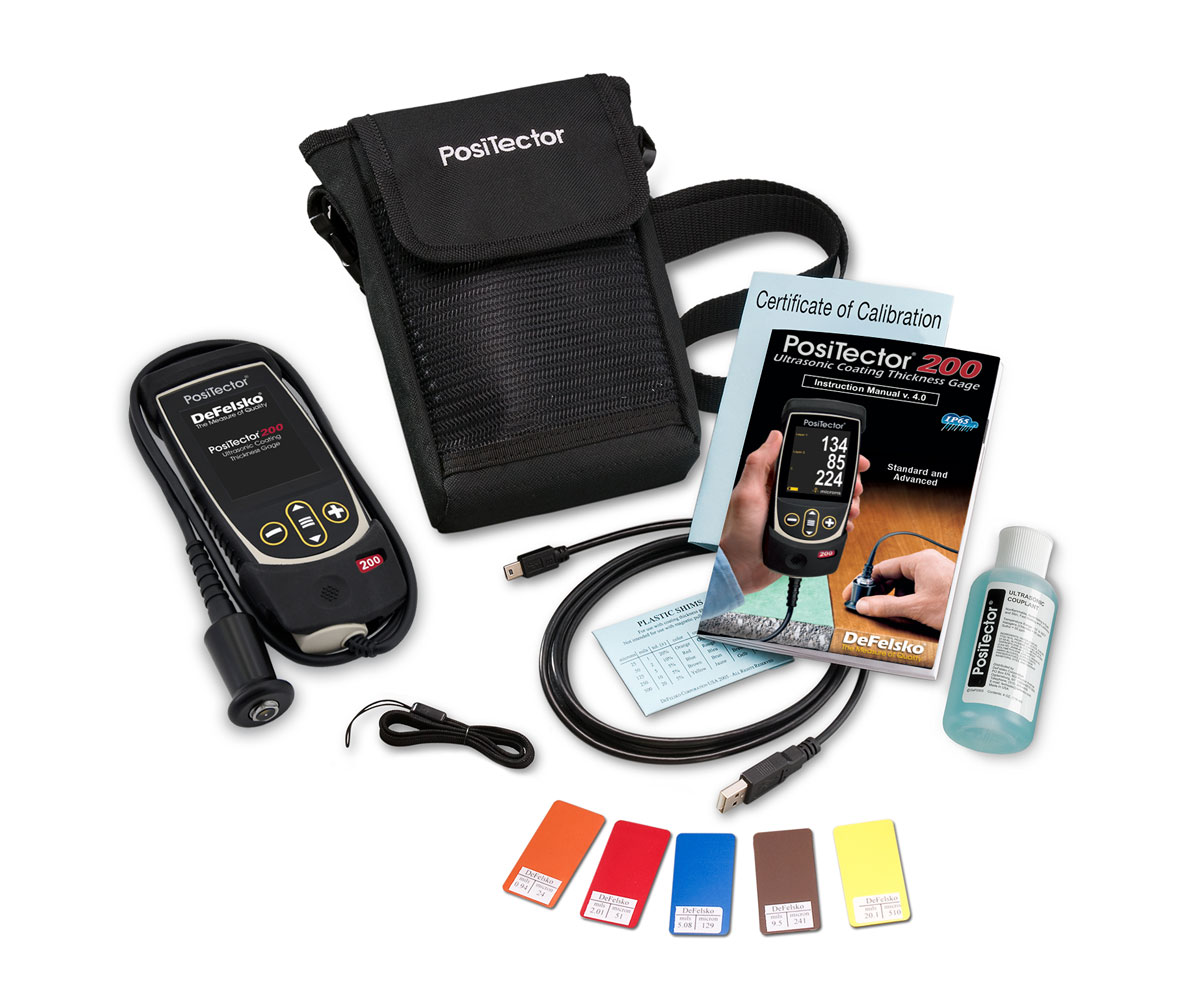
- Includes NIST Traceable Calibration Certificate
- USB port for fast, simple connection to a PC and to supply continuous power. USB cable included
- Solvent, acid, oil, water and dust resistant - meets or exceeds IP5X
- Thick impact-resistant Lexan display
- Bi-color indicator light
- 2 Year Warranty
- Shock-absorbing, protective rubber holster
- Quality high-flex cable and strain relief
- Comfortable ergonomic finger grip reduces operator fatigue
- Plastic-tipped probe will not scratch surface
- Probe Cable Length is 3 ft (1 meter)
- Made in the USA
- Cross compatibility with other PosiTector probes,
| PosiTector® 200 | B/Std | B/Adv | C/Std | C/Adv | D/Std | D/Adv |
Order Code |
200B1 | 200B3 | 200C1 | 200C3 | 200D1 | 200D3 |
| Included Body | Standard | Advanced | Standard | Advanced | Standard | Advanced |
| Included Probe | PRB200B | PRB200C | PRB200D | |||
| Typical Applications | polymer coating on wood, plastic, etc. |
Coatings on concrete, fiberglass, etc. |
Thick, soft coatings like polyurea, asphaltic neoprene, very thick polymers |
|||
| Measures Total Thickness | • | • | • | • | • | • |
| Measures Individual Layers** | • | • | • | |||
| Measurement Range* | 13 to 1000 μm 0.5 to 40 mils |
50 to 3800 μm 2 to 150 mils |
50 to 7600 μm 2 to 300 mils |
|||
| Accuracy | + (2 μm + 3% of reading) + (0.1 mils + 3% of reading) |
+ (20 μm + 3% of reading) + (1 mils + 3% of reading) |
||||
| Minimum Individual Layer Thickness** | 13 μm 0.5 mils |
50 μm 2 mils |
500 μm 20 mils |
|||
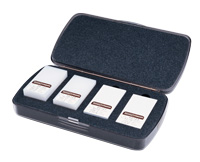
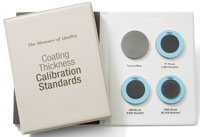
| Certified Thickness Standard | STDA3 | STDP6 | STDP1 | |||
**For multiple layer applications only. Dependent on material to be tested
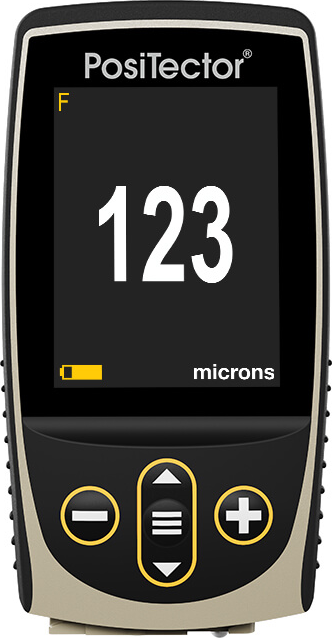
PosiTector® Standard Gauge Body |
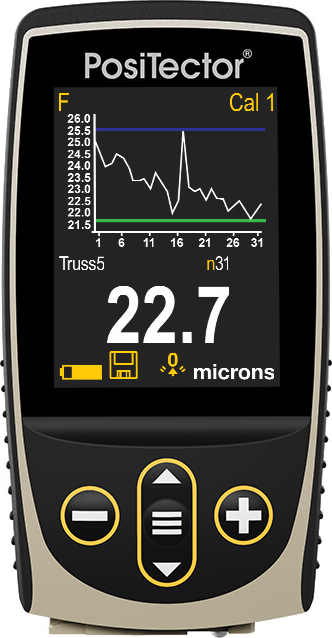
PosiTector® Advanced Gauge Body |
Features a high contrast, reversible color LCD, 1000 readings per probe and USB data output. |
Features a high contrast reversible color LCD, 250,000 reading per probe, USB, WiFi and Bluetooth output. Measures layers independently. Touchscreen keyboard for quickly renaming batches, adding notes, and more. |
 |
 |
No. Our instruments are designed for simple operation, feature easy-to-use menus, both full and quick instruction manuals, and helpful videos. In lieu of demonstration models, we provide unlimited technical support via telephone and/or email, and a limited 30-day money back guarantee.
Is the PosiTector 200 calibrated at the factory?
The PosiTector 200 arrives fully calibrated and ready to measure. A Long-Form Certificate of Calibration traceable to NIST or PTB is included, which documents actual readings taken by your instrument at our calibration laboratory on standards traceable to a national metrology institute. Beware of ‘Certificates’ or ‘Certificates of Conformance’ offered by competitors. These typically do not include actual instrument readings, and are often insufficient to meet common quality requirements.
The PosiTector 200 is factory calibrated to measure most polymer coatings out of the box without calibration or adjustment. If required, a simple gage adjustment can be made to a coating sample of known thickness as close as possible in composition to the intended application. For best results, the thickness of the sample should be equal to or slightly greater than the maximum expected thickness of the coating to be measured.
Can the PosiTector 200 be used to measure coatings on metal substrates?
In many cases, yes! However, the following should be noted:
-Metal Substrate Thickness: Because sound travels through metals approximately three times faster than it travels through most protective coatings, substrate thickness will largely determine the suitability of a particular coating thickness application for the PosiTector 200.
-Gage Adjustment: Adjustment to the PosiTector 200 gage’s Hi Range to eliminate unwanted metal substrate back-wall echoes is typically required for improved measurement repeatability. This process of adjustment is simplified through the use of the PosiTector 200 Advanced gage’s Graphics Mode. Although a PosiTector 200 Standard gage model has the capability to accurately measure single coat applications and a total coating system thickness of multi-layer applications, we strongly recommend the use of a PosiTector 200 Advanced gage model for measurement on metal substrates.
-Single Coat Applications: A minimum coating thickness of 13µm (0.5 mil) on a flat metal substrate with a minimum thickness of 1.25mm (50 mils) is usually required.
-Multi-Layer Applications –
1. Total thickness: In many circumstances, the total thickness of a multi-layer coating system over metal can be reliably measured. As in single coat applications, a minimum total coating system coating thickness of 13µm (0.5 mil) on a flat metal substrate with a minimum thickness of 1.25mm (50 mils) is usually required.
2. Individual layers: The PosiTector 200 will measure the thickness of individual layers when each layer is thicker than 125µm (5 mils) and the metal substrate is thicker than 6mm (0.25”). A greater difference in the acoustic characteristics of each layer results in a greater likelihood of accurate individual layer measurement.
A PosiTector 6000 probe is generally recommended over a PosiTector 200 probe for measuring coating thickness on metal substrates because –
-Lower cost
-Larger selection of probes (none requiring the use of an ultrasonic couplant gel)
-Greater accuracy
-Unlike PosiTector 200 probes, adjustment is not required for most protective coating properties
-Fully conform to international standards for measuring coating thickness over metal
What is couplant? Do I need to use it every time I take a reading?
Couplant is required for every reading in order to propagate ultrasound into the coating. Water is a suitable couplant for smooth coatings. Use the supplied glycol gel for rougher coatings.
Can the PosiTector 200 measure coatings that contain particles or aggregate?
Broadcast epoxy, urethane mortar and other coating systems that contain aggregates or particulate inclusions (silica, quartz flake, concrete, etc.) will present a significant measurement challenge to our ultrasonic PosiTector 200 instrument. This is caused by the tendency of the solid particles to interfere with the ultrasonic impulse and typically results in unreliable thickness readings.
How do I ‘Zero’ the PosiTector 200?
Unlike a magnetic or eddy-current principle gage, an uncoated substrate is not required to Zero the PosiTector 200. Instead, the probe is held in the air away from the substrate when the Zero is performed.
How often should the PosiTector probe be recalibrated?
PosiTector probes include a Certificate of Calibration with no expiry or end date. They have no shelf life, therefore the length of time in the field is not a good indicator for recalibration intervals. Many organizations with quality programs and recertification programs require annual recalibrations, and this is a good starting point for most users. Manufacturers recommend that customers establish calibration intervals based upon their own experience and work environment. Based on our product knowledge, data and customer feedback, a one year calibration interval from the date the instrument was placed in service is a good starting point.
| Item | Description | Price | ||
|---|---|---|---|---|
200D3 | PosiTector® 200D Coating Thickness Gauge with Advanced Display, Measures Thick Coatings on Non-Metal Substrates up to 300 mils / 7.6mm | $2,985.00 | ||
| Accessories | ||||
PRB200B | PosiTector® Cabled Probe for 200 Series - 40 mils / 1000 microns | $1,795.00 | ||
PRB200C | PosiTector® Cabled Probe for 200 Series - 150 mils / 3800 microns | $1,995.00 | ||
PRB200D | PosiTector® Cabled Probe for 200 Series - 300 mils / 7600 microns | $2,195.00 | ||
Bluetooth Printer for PosiTector Series Gauges | $340.00 | |||
PAPERBT | 10 Rolls of Paper for the Bluetooth Printer (PRINTERBT) | $20.00 | ||
SoundSafe Coupling Fluid - 12 oz / 354 ml - NSN: 6635-01-553-0559 | $30.00 | |||
GEL-P | Case of 12 bottles of Couplant, 4oz each for PT-200 / PT-UTG | $195.00 | ||
GEL-T | Case of 2 bottles of Couplant, 4oz each | $47.00 | ||
USBAC | AC Power Adapter, 100-230V for PosiTector 6000 Display | $45.00 | ||
| Probes for Coatings on Metal Substrates | ||||
PosiTector® Coating Thickness Gauge Cabled Probe, Measures Coatings on Ferrous Metals up to 60 mils / 1500 Microns. PROBE ONLY, Display Sold Separately PRBFS-D | $510.00 | |||
PosiTector® Coating Thickness Gauge Cabled Probe, Measures Coatings on NON-Ferrous Metals up to 60 mils / 1500 Microns. PROBE ONLY, Display Sold Separately PRBNS | $585.00 | |||
PosiTector® Coating Thickness Gauge Cabled Probe, Measures Coatings on Ferrous and NON-FERROUS Metals up to 60 mils / 1500 Microns. PROBE ONLY, Display Sold Separately PRBFNS | $915.00 | |||


