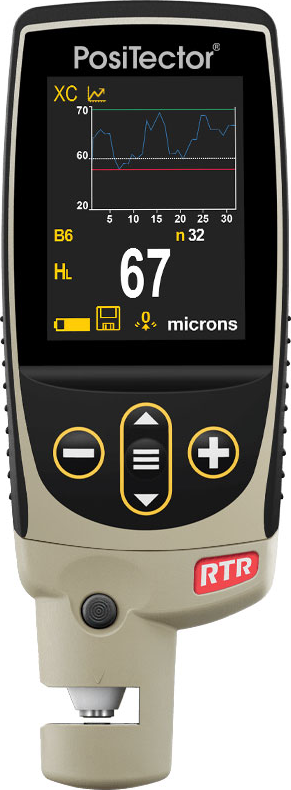
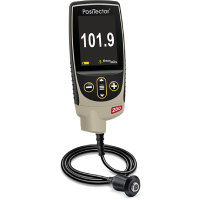
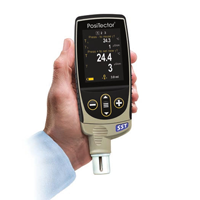
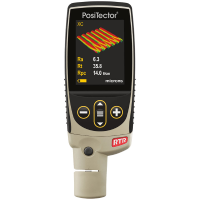
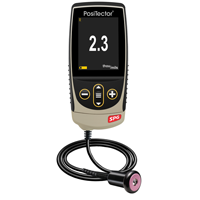
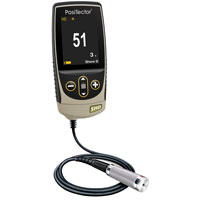
Positector RTR Replica Tape Reader measures and records peak to valley surface profile height using replica tape.
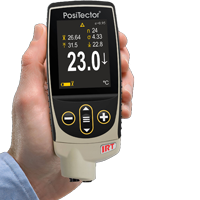
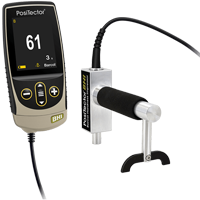
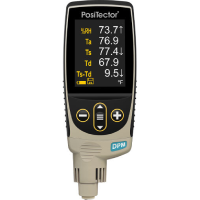
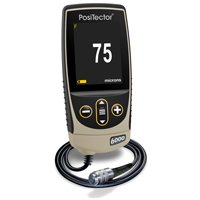
The probe can be swapped out with any other PosiTector probe allowing the device to act as several different measuring instruments including but not limited to a dew point meter, a thermometer, a thickness gauge, and a hardness durometer. See related products for a more inclusive list.
- One-handed menu navigation
- Automatically subtracts the 50.8 µm (2 mil) incompressible substrate from all readings
- Solvent, acid, oil, water and dust resistant – weatherproof
- Shock-absorbing, protective rubber holster with belt clip
- Certificate of Calibration (Long Form) showing traceability to PTB included
- Conforms to national and international standards including ISO and ASTM
- PosiTector body accepts all PosiTector RTR, SPG, 6000, 200, DPM, and UTG probes easily converting from a coating thickness gage to a dew point meter, surface profile gage or wall thickness gage
- High contrast backlit display for bright or dark environments
- Uses alkaline or rechargeable batteries (built-in charger)
- USB port for fast, simple connection to a PC and to supply continuous power. USB cable included
- Screen Capture - record and save image into USB flash memory for record keeping and review
- Software updates via web keep your gage current
- RESET feature instantly restores factory settings
- Minimizes inspector workload by reducing the number of replicas needed to ensure accuracy
- Rugged indoor/outdoor instrument – ideal for field or shop use
- Measures height (H) and linearized height (HL)
- Check Shim provided to verify accuracy
- Mils/Microns switchable
- Display Languages: English, French, German, Spanish, Japanese, Chinese, Korean, Dutch, Portuguese, Italian, Norwegian, Russian, Czech, Polish and Turkish.
- Flip display enables right-side-up viewing
- Continually displays/updates average, standard deviation, min/max height and number of readings
- PosiSoft solutions for viewing, analyzing & reporting data
- Every stored measurement is date and time stamped
- Two (2) year warranty on body AND probe
| Feature | PT-RTR-H1 | PT-RTR-H3 |
|---|---|---|
 |
 |
|
| Included PosiTector body | Standard | Advanced |
| Included PosiTector probe | PRBRTRH | |
| PosiTector body accepts all PosiTector RTR, SPG, 6000, 200, DPM, and UTG probes easily converting from a coating thickness gage to a dew point meter, surface profile gage or wall thickness gage | ||
| High Contrast LCD Display | Color | Color |
| Measures height (H) - comparable to a conventional analog spring micrometer | ||
| Measures linearized height (HL) | ||
| Statistics - Instantly calculate average, standard deviation, min/max thickness and number of readings while measuring | ||
| Batch Annotation - Create meaningful batch names and enter notes directly on the instrument using a familiar on-screen QWERTY keyboard | - | |
| Reading Storage Capacity | 250 in one group | 100,000 in up to 1000 groups |
| Store thickness, profile, environmental and wall thickness measurements in individual batches | - | |
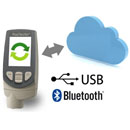
| USB port for fast, simple connection to a PC and to supply continuous power. USB cable included | ||
| PosiSoft 3.0 - desktop software (PC/Mac) for downloading, viewing, printing and storing measurement data from PosiTector gauges. No internet connection required. | ||
| PosiSoft USB Drive - stored readings and graphs can be accessed using universal PC/ Mac web browsers or file explorers. No software required | ||
| PosiSoft.net - a free web-based application offering secure storage of thickness readings | ||
| WiFi technology wirelessly synchronizes with PosiSoft.net, downloads software updates, and connects to mobile devices for expanded functionality | - | |
| PosiSoft Mobile - gage-based software application allows access to readings, graphs, capture photos and update notations through WiFi enabled devices such as tablets, smart phones and computers | - | |
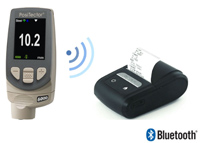
| Bluetooth Wireless Technology for data transfer to a PC or optional portable printer | - | |
| Real Time Graphing, Picture Prompting, & Batch Notes | - | |
Prepare the test surface
 Locate a representative site for measurement. Clean the surface to be tested.
We recommend the use of cleaning putty to remove dust, debris, or residual blast media from the surface.
Firmly press the putty onto the surface using your fingers, and remove.
Burnish the replica tape (create a replica)
Select the appropriate grade of replica tape based on the target profile (Coarse or X-Coarse). See tape instructions for assistance.Pull a single adhesive-backed replica tape free of its release paper. A "bull's eye" circle of paper should remain on the release paper (it is not used for measurement).
 Apply replica tape to blasted surface. Press the adhesive-backed ends of the paper to hold it firmly in place during the burnishing process.
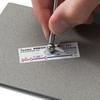
Firmly compress replica film using the rounded end of the included stainless steel burnishing tool. Apply sufficient pressure in a circular and x-y rubbing motion to produce a replica with a uniform pebble grain appearance. It normally takes 30 to 60 seconds to fully compress all parts of the film on most surfaces. In general, too much compression is safer than too little.
After burnishing is complete, remove the replica tape from the surface.
Prepare the PT-RTR
 Clean the measurement surfaces (anvils) using the included cleaning card. Swipe the card through the opening a few times while firmly pressing both probe buttons to remove dust particles and residual tape adhesive.
Power-up the PosiTector RTR by pressing the center navigation button. An image appears indicating that the probe requires zeroing.
Simultaneously press and hold both probe buttons firmly until the Gage beeps and the arrows point outward. Do not place anything in the measurement opening during this procedure.
Measure the included check shim to verify accuracy.
Ensure the correct grade of replica tape, C or XC, is displayed in the upper left corner of the LCD.
Prepare the PT-RTR
Insert the burnished replica tape into the measurement opening. Ensure the tape is properly positioned so that the burnished region is centered within the opening in the probe with the adhesive (sticky) side down.
To position the tape, move the Testex™ Press-O-Film™ replica tape to the back of the probe and align the two dots (printed on replica tape) with arrows on both sides of the measurement opening.

If you are using older Testex™ Press-O-Film™ replica tape that does not have the printed dots, simply align by centering the tape within the measurement opening.
Once positioned, firmly press both probe buttons simultaneously and hold until the PosiTector RTR beeps and the measurement is displayed. During measurement, a constant anvil pressure is applied to the replica tape regardless of how hard the two buttons are pressed.
The PosiTector RTR automatically subtracts the 50.8 µm (2 mil) of incompressible polyester film. No further adjustments are required.

Replica Tape provides a simple way to obtain an impression of a surface for analysis. It consists of a layer of crushable plastic micro foam affixed to a 50.8 µm (2 mil) incompressible polyester film. When compressed against a roughened surface, the foam collapses and acquires an impression, or reverse replica, of the surface. It is available in a number of grades to accommodate measurements in different profile ranges.

Placing the compressed tape (replica) into the PT-RTR gives a measure of the average maximum peak-to-valley height of the surface roughness profile.

The gage automatically subtracts the thickness of the polyester substrate from all measurements.
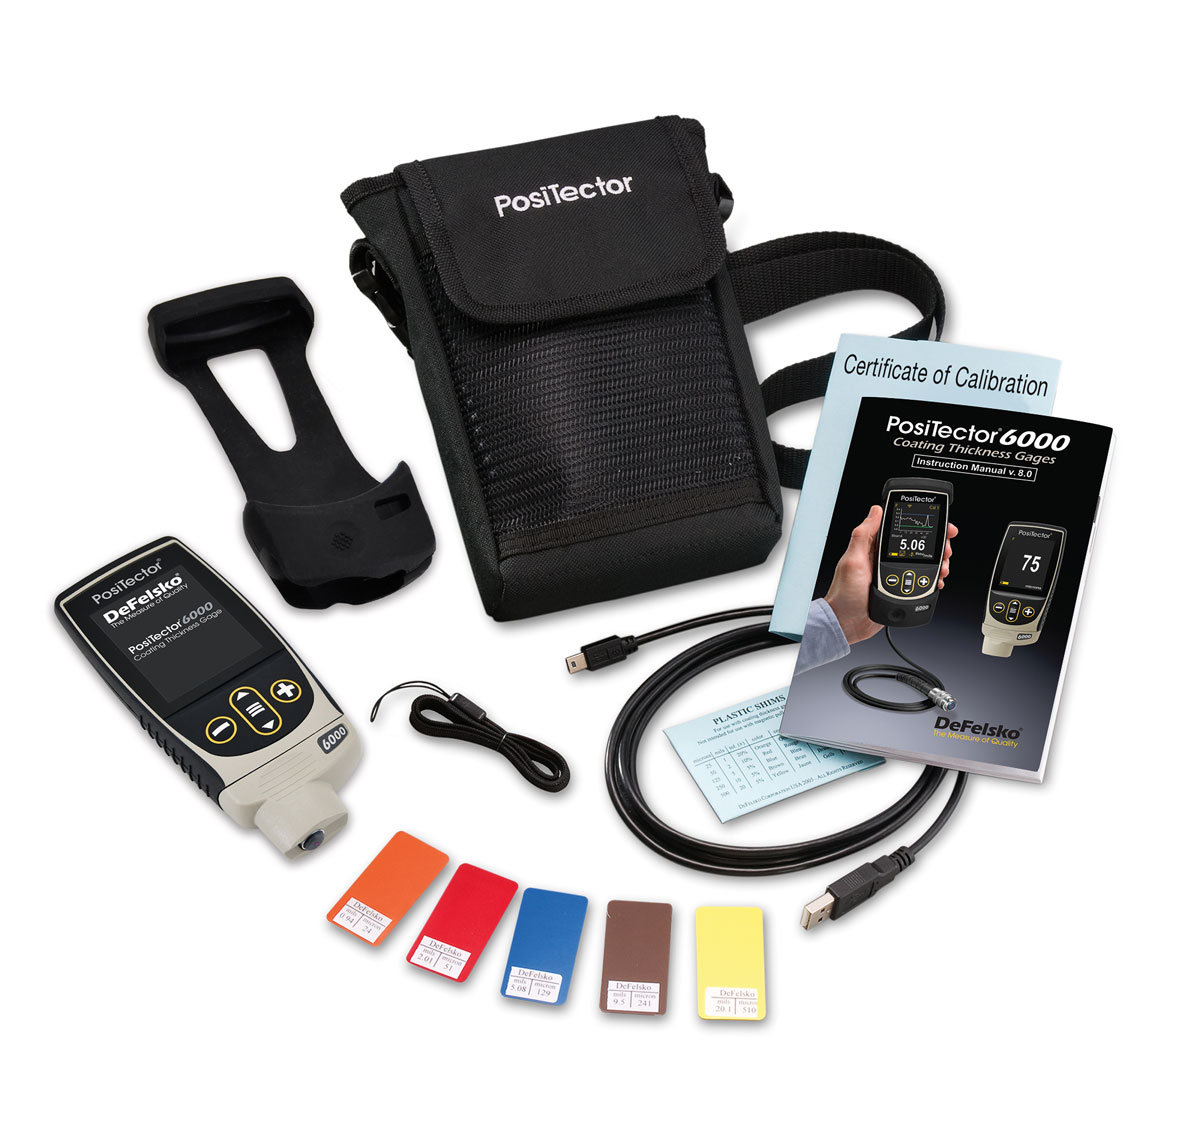
ALL GAUGES COME COMPLETE with body and probe, stainless steel burnishing tool, cleaning cards(5), check shim, surface cleaning putty, protective rubber holster with belt clip, wrist strap, 3 AAA alkaline batteries, instructions, nylon carrying case with shoulder strap, protective lens shield, Long Form Certificate of Calibration traceable to PTB, USB cable, PosiSoft.net account, two (2) year warranty.
Replica Tape not included
Replica Tape not included
| Measurement Range | 20 to 115 µm (0.8 to 4.5 mils) |
| Accuracy (H) | ± 5 µm (± 0.2 mils) |
| Resolution | ± 1 µm (± 0.2 mils) |
| Anvil Diameter | ⌀6.3 mm (⌀0.25 inch) |
| Anvil Pressure | 110 grams-force (1.1 Newtons) |
| Dimensions | 152 mm x 61 mm x 28 mm (6" x 2.4" x 1.1") |
| Weight | 140 g (4.9 oz.) without batteries |
Do your instruments require any formal training for use? Do you offer ‘demo’ models?
No. Our instruments are designed for simple operation, feature easy-to-use menus, both full and quick instruction manuals, and helpful videos. In lieu of demonstration models, we provide unlimited technical support via telephone and/or email, and a limited 30-day money back guarantee.
Is the PosiTector RTR H calibrated at the factory?
The PosiTector RTR arrives fully calibrated and ready to measure. A Long-Form Certificate of Calibration traceable to PTB is included, which documents actual readings taken by your instrument at our calibration laboratory on standards traceable to a national metrology institute. Beware of ‘Certificates’ or ‘Certificates of Conformance’ offered by competitors. These typically do not include actual instrument readings, and are often insufficient to meet common quality requirements.
Verification of gage calibration and accuracy can be performed with the supplied check shim, which is specifically intended for all PosiTector RTR probes.
What is replica tape?
Replica tape is a long-known method for characterizing a surface. It is simple, relatively inexpensive and shows good correlation with results from other methods. It has the advantages of ruggedness, relatively low start-up cost, good repeatability and the option of retaining a physical replica of the surface being evaluated. The method is widely used and widely understood. It is particularly useful for measurements on curved surfaces that are difficult to measure directly with other instruments. It is therefore not surprising that it has become the most popular field method for measuring surface profile. Its operation is described in a number of international standards including ASTM D4417, ISO 8503-5, NACE SP0287, and AS 3894.5.
What grades of replica tape is the PosiTector RTR H compatible with?
The PosiTector RTR measures the two primary grades of replica tape: Coarse and X‐Coarse. The other grades of replica tape, Coarse Minus and X‐Coarse Plus, are check grades that are used only to confirm or improve the accuracy of conventional analog spring micrometer measurements at the lower end of the Coarse tape’s range (Coarse Minus) and at the upper end of the X‐Coarse tape’s range (X‐Coarse Plus). Since the PosiTector RTR automatically corrects for the non‐linearity of Coarse and X‐Coarse tape, these other check grades are not required.
Why should I purchase the PosiTector RTR H over a conventional snap gage?
The PosiTector RTR offers a number of advantages over a mechanical spring micrometer:
-Linearization feature increases measurement accuracy and reduces tape consumption.
-Unique opposing spring design prevents undesired user interferences from occurring.
-Large digital display for clear, easy-to-read measurements with the ability to store and download readings.
-Arrives fully calibrated and includes a traceable calibration certificate.
-Interchangeable probe design offers the ability to use a single PosiTector gage body for a wide variety of applications: surface profile, coating thickness, wall thickness, salt contamination, Shore hardness and environmental.
Is the PosiTector RTR H as accurate as conventional spring micrometers?
The PosiTector RTR’s displayed HL (linearized height) value is a more accurate surface profile measurement because it adjusts for tape non‐linearity without the need to average the results from 2 or more replicas. Linearization is a technique used to insure uniform accuracy of measurement in many types of advanced sensors. Its use in connection with replica tape is described here.
Do I need to take two measurements in some surface profile ranges with the PosiTector RTR H, as is required with the spring micrometer?
No. With a single measurement, the gage produces a more accurate peak‐to‐valley height measurement HL. The advantages are a reduction in measurement uncertainty, inspector workload, the likelihood of error, and the number of replicas needed by inspectors to assure accuracy.
Together with Testex, the manufacturer determined the non‐linear relationship between actual steel profile peak‐to‐valley heights and their replicated heights on tape. By adjusting for this non-linearity, the PosiTector RTR is able to overcome the shortcomings imposed by replica tape foam.
Why does the blasted steel under the burnished replica tape appear shiny, and different from the surrounding area?
Abrasive blasting often leaves debris on the surface, which changes its appearance. If the surface isn’t cleaned with the included cleaning putty before measuring, the replica tape captures this debris and ‘cleans’ the surface where the tape was burnished. This may make the test area appear ‘shiny’ compared to the surrounding area, and is not a sign of damage to the blast profile.
How do you position replica tape into the PosiTector RTR H?
Testex Press‐O‐Film replica tape is produced with two positioning dots that align with arrows located on both sides of the PosiTector RTR’s probe. Move the tape to the back of the probe, align the dots, and then press the two probe buttons. Measurement is fast, simple and accurate.
Should I purchase the PosiTector RTR or PosiTector SPG for my application?
Both instruments conform to ASTM D 4417 "Standard Test Methods for Field Measurement of Surface Profile of Blast Cleaned Steel".
The PosiTector SPG conforms to Method B of ASTM D 4417. The PosiTector SPG measures quickly, and has no per-test cost. It keeps a digital record of each measurement, is less operator dependent, as no burnishing of replica tape is required. It also has a greater range than replica tape.
The PosiTector RTR conforms to Method C of ASTM D 4417. It is used together with Testex Replica tape, a widely used and respected method to measure surface profile. It has the ability to measure on curved surfaces, and gives the user the option to retain the replica tape; a physical replica of the tested surface.
What is the spring pressure on the probe? Do I have to apply a specific pressure to the buttons?
The anvil impact force of the PosiTector RTR is identical to that of conventional mechanical spring micrometers. The PosiTector RTR has the same anvil size (0.25 inch / 6.25mm diameter) and applies the same spring tension (110 gram‐force / 1.1 Newtons) as Testex micrometers and as required by major test standards.
An issue with mechanical spring micrometers is that they can under‐read if a user drops the measuring anvils onto the replica tape too fast. Other errors can occur if the user presses upward on measuring arms to “stabilize” readings. Both actions force conventional micrometers to read lower by crushing the tape’s delicate microfoam.
The PosiTector RTR’s unique opposing spring design prevents these undesired user interferences from occurring. Pressing the two probe buttons releases a holding spring. That allows a second spring, the anvil spring, to apply a constant pressure measuring force on the replica. This measuring force is not coupled to the buttons so the user cannot alter the applied pressure and inadvertently influence results.
How often should the PosiTector probe be recalibrated?
PosiTector probes include a Certificate of Calibration with no expiry or end date. They have no shelf life, therefore the length of time in the field is not a good indicator for recalibration intervals. Many organizations with quality programs and recertification programs require annual recalibrations, and this is a good starting point for most users. Manufacturers recommend that customers establish calibration intervals based upon their own experience and work environment. Based on our product knowledge, data and customer feedback, a one year calibration interval from the date the instrument was placed in service is a good starting point.
| Item | Description | Price | ||
|---|---|---|---|---|
PT-RTR-H3 | Replica Tape Reader measures height only, Advanced Model - RTRH3 | $1,225.00 | ||
| Accessories | ||||
PRBRTRH | PosiTector® Replica Tape Reader, Height Only Probe - Requires Positector Display - PRBRTRH | $435.00 | ||
Coarse Replica Tape - 0.8 to 2.0 mils / 20 to 50 µm, 50 pieces | $38.00 | |||
X-Coarse Replica Tape - 1.5 to 4.5 mils / 38 to 115 µm, 50 pieces | $38.00 | |||
RTRTAPEHLDR | Replica Tape Holder (5) | $11.00 | ||
RTRCLEANCARD | Cleaning Card, 20 pieces | $33.00 | ||
RTRPUTTY | Cleaning Putty, 5 pieces | $20.00 | ||
RTRBALL | Burnishing Ball | $10.00 | ||
RTRCHKSHIM04 | Check Shim | $25.00 | ||
Bluetooth Printer for PosiTector Series Gauges | $340.00 | |||
PAPERBT | 10 Rolls of Paper for the Bluetooth Printer (PRINTERBT) | $20.00 | ||
USBAC | AC Power Adapter, 100-230V for PosiTector 6000 Display | $45.00 | ||
LENSSHIELD | Protective Lens Shields, Pack of 5 for PosiTector® 6000 Display | $10.00 | ||
RTRCHKTAPE04 | Pd Check Tape | $25.00 | ||
In stock
1 Week Lead Time (Estimated)
2-3 Week Lead Time (Estimated)
Lead Time Varies, Please contact us for availability.
Unavailable


